Ed eccoci allo step numero tre. Vedendo la base, piccola ispirazione: rialzare ulteriormente la scena.. Come fare?
Facile.. Far la porzione di un ponte, sulla quale porre i due figurini.
Tutto, anche in questo caso, parte da materiali accumulati in casa: piccoli listelli in legno di varie dimensioni e balsa.
Ecco un passo passo.. Ci provo!
Here the step number three. Seeing this little base I receive little inspiration: raise the scene..
How?
Simple.. I will try to realize a little bridge's piece, on which dispose figures.
All, as same, start with scrap material which I have in house: little wooden strips and balsa.
I will try to expose step by step!!
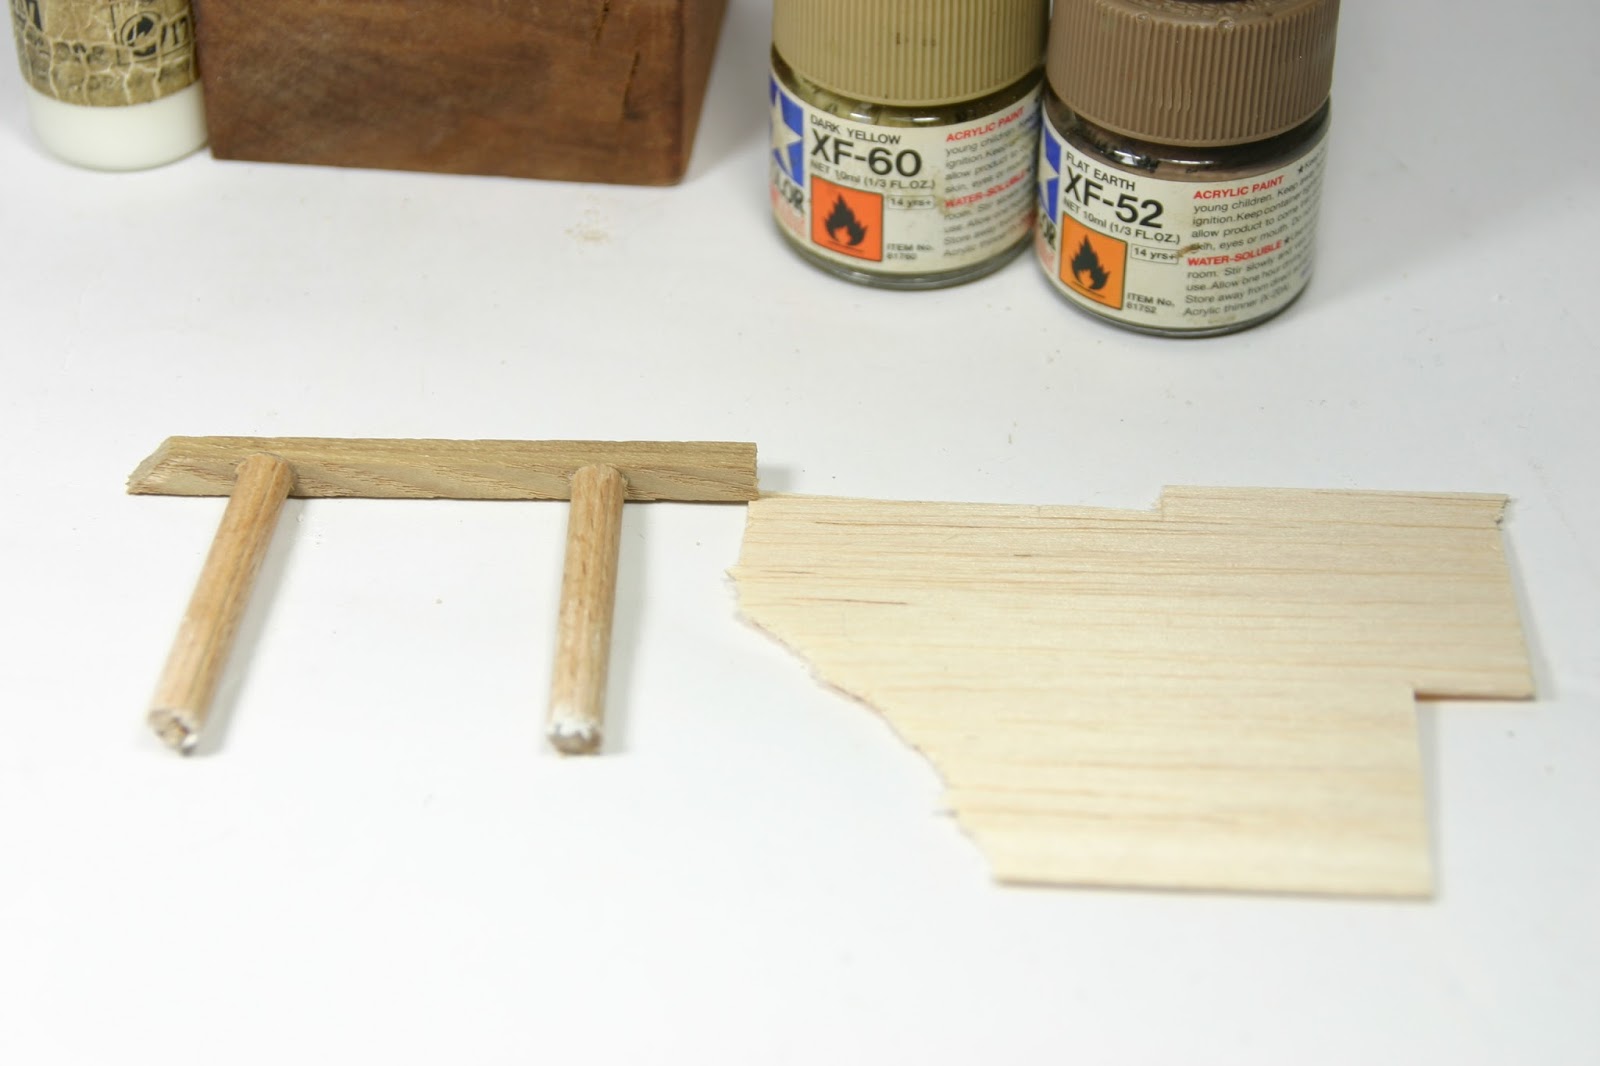
Iniziamo! In primo luogo il materiale che stiamo usando e come avevamo lasciato la scena.
Incollo i pilastri del ponte (listello di legno circolare) alla sorta di architrave (listello quadrato).
Let's start! First, the material that we're using and how we had left the scene. Paste the pillars of the bridge (wooden strip circular) to sort of architrave(batten square).
Dopo aver posto le basi del ponte, si realizza con balsa la passerella. Ci si aiuta con taglierino e matita..
Having laid the foundations of the bridge, it is made with balsa the footbridge. It helps with utility cutter and pencil ..
Dopo qualche minuto si incolla la passerella, incisa a simulare le assi del legno e il gioco è fatto.
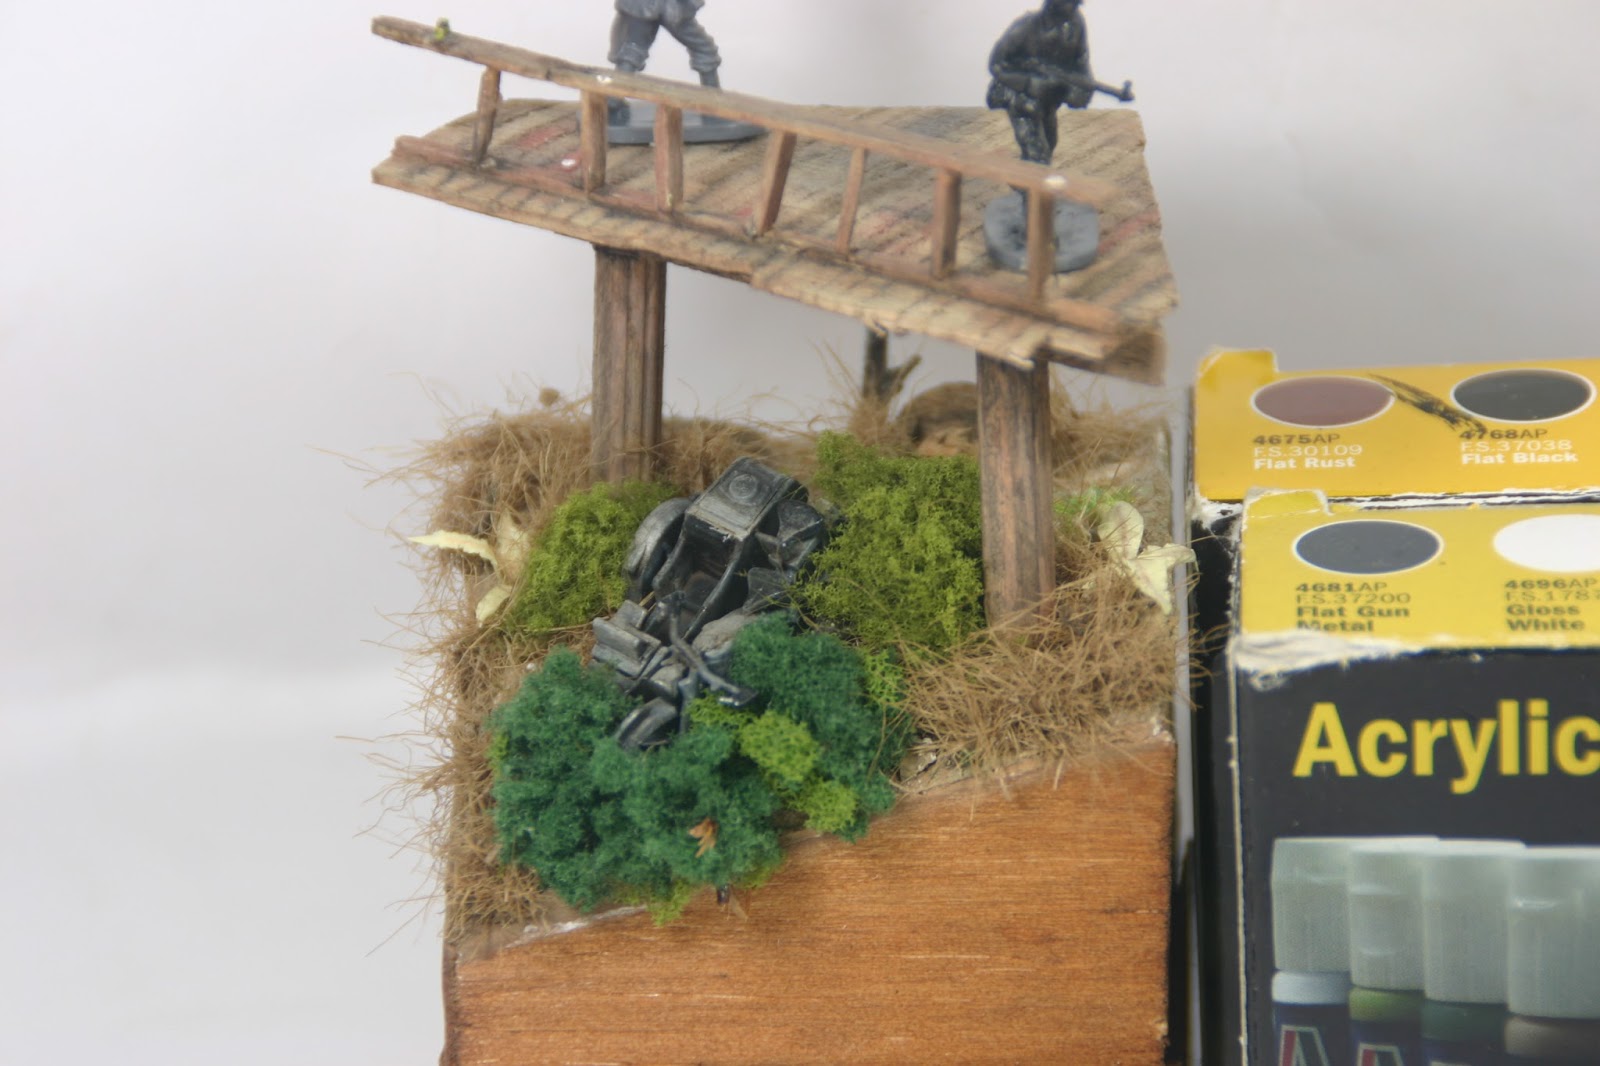
Vediamo il risultato. Due diverse foto.
After a few minutes you glue the footbridge, engraved to simulate the planks of wood and you're done.
We see the result. Two different pictures.
Per poter poi concludere la piccola porzione del ponte, realizziamo la piccola balaustra, che ho deciso di non far troppo precisa, quasi che si trattasse di un ponte improvvisato e senza curar l'aspetto estetico dello stesso, funzionale e non bello! In guerra poteva accadere!
Anche in questo caso piccoli listelli di balsa tagliati e sagomati!
To be able to finish the small portion of the bridge, we realize the little balustrade, I decided not to make too precise, as if it were an improvised bridge and treat yourself without the appearance of the same, functional and not beautiful! In war could happen!
Also in this case small strips of balsa wood cut and shaped!
Tanto per capire le dimensioni del ponte:
Just to understand the dimensions of the bridge:
Ed ecco cosa dovrebbe uscire fuori una volta ultimato:
And here's what should come out once completed:


