Visualizzazione post con etichetta Tecniche. Mostra tutti i post

sabato 16 marzo 2019

How I do.. book in scale

Ciao a tutti! Oggi sono alle prese con la realizzazione di un libro in piccola scala!

Impossibile riuscire? Vediamo subito!
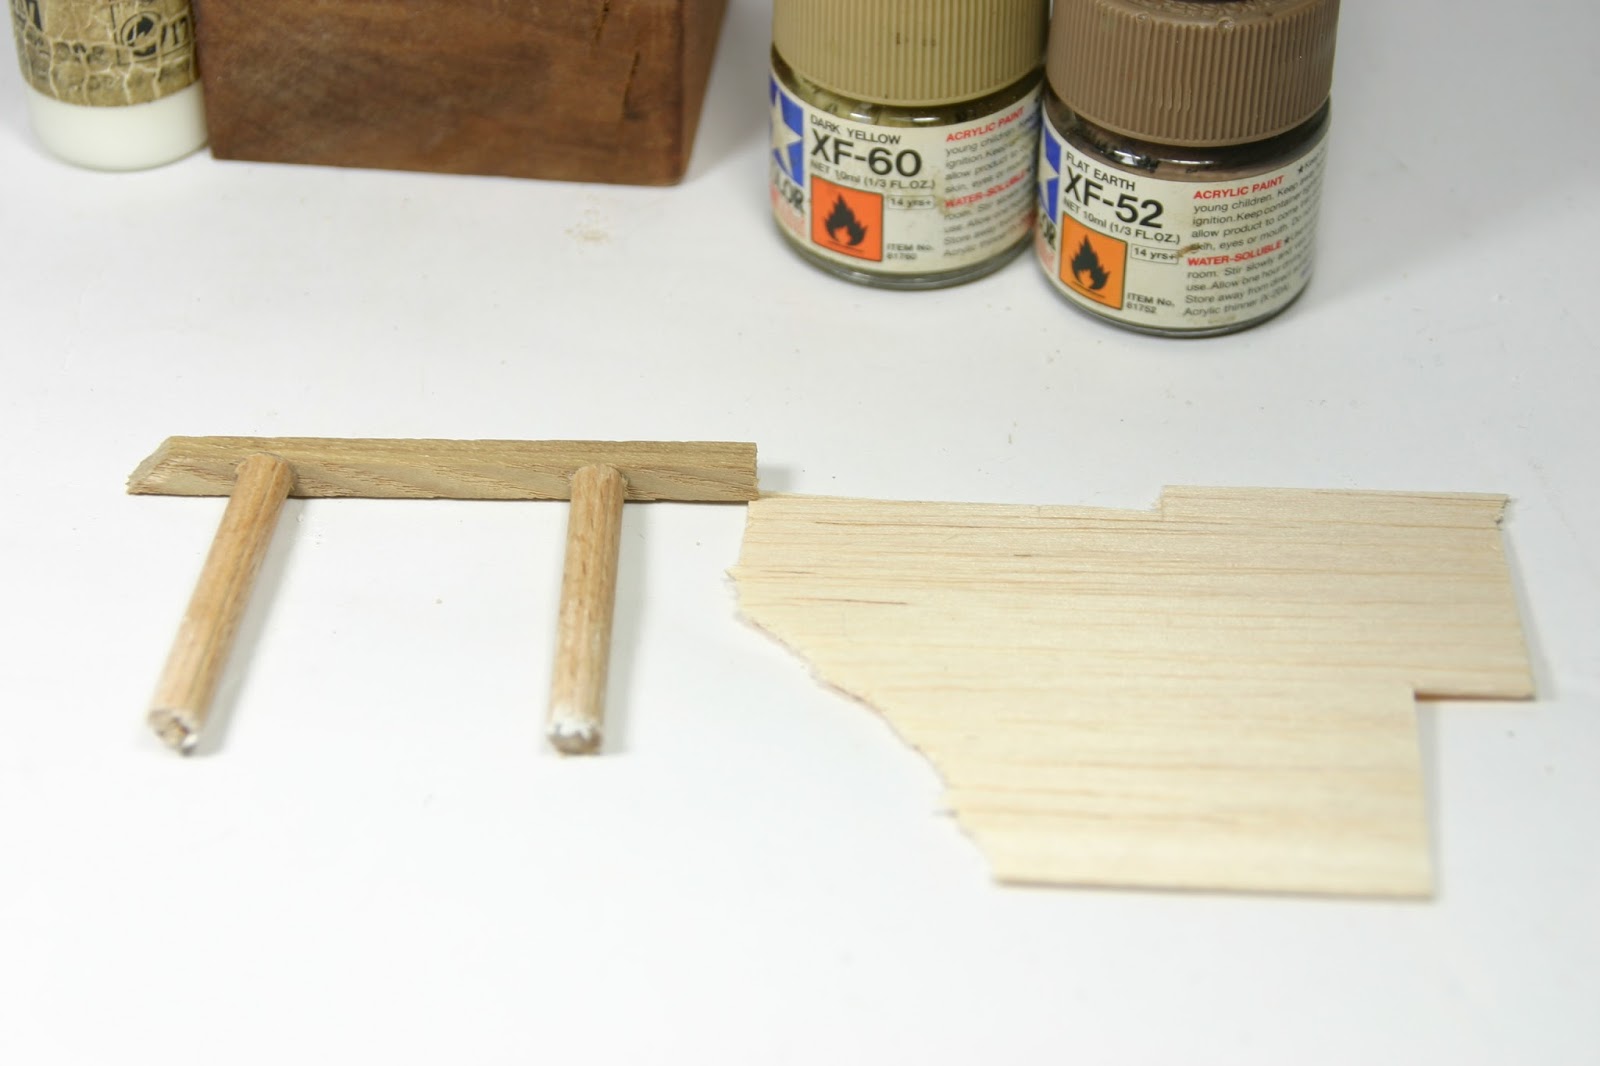
Partiamo dal materiale utilizzato: mi son stampato su un foglio A4 la copertina di un testo, in questo caso ho scelto il Don Chisciotte, non si nota eh?!

Hello everyone! Today I am making a small-scale book! Fail to succeed? Let's see now!


Let's start with the material used: the cover of a text is printed on an A4 sheet, in this case I have chosen the Don Quixote, one does not notice eh?!


Inizio con il tagliare con un taglierino la copertina del mio libro, aiutandomi con un righello che mi consente di essere preciso.

Mi aiuto con delle forbici, per esser maggiormente accurato. E cerco di piegare la copertina come un vero testo, mi aiuto con un taglierino.

Start by cutting with a cutter the cover of my book, helping me with a ruler that allows me to be precise.

Start by cutting with a cutter the cover of my book, helping me with a ruler that allows me to be precise. 

I help myself with scissors, to be more accurate. And I try to fold the cover like a real text, I help myself with a cutter.


Secondo passaggio: mi disegno una riga di pochi cm sullo stesso foglio e la ritaglio con attenzione, piegandola poi a fisarmonica. Questo listello sarà l'interno del nostro libro.

The second step: I like a line of a few cm on the same sheet and the duration carefully, then folding an accordion. Those will be the inside pages of the book.


Passiamo poi ad incollare quel listello nella copertina del libro.

We then pass on to glue that strip on the cover of the book.


Ora possiamo iniziare a vedere lo spessore del libro e a renderci anche conto delle reali dimensioni.
Per rifinire il lavoro tagliamo le parti di troppo e con un cutter andiamo poi ad aprire le pagine.

Now you can see the thickness of the book and also realize the real size. To finish the job we cut the parts too much and with a cutter we then go to open the pages.
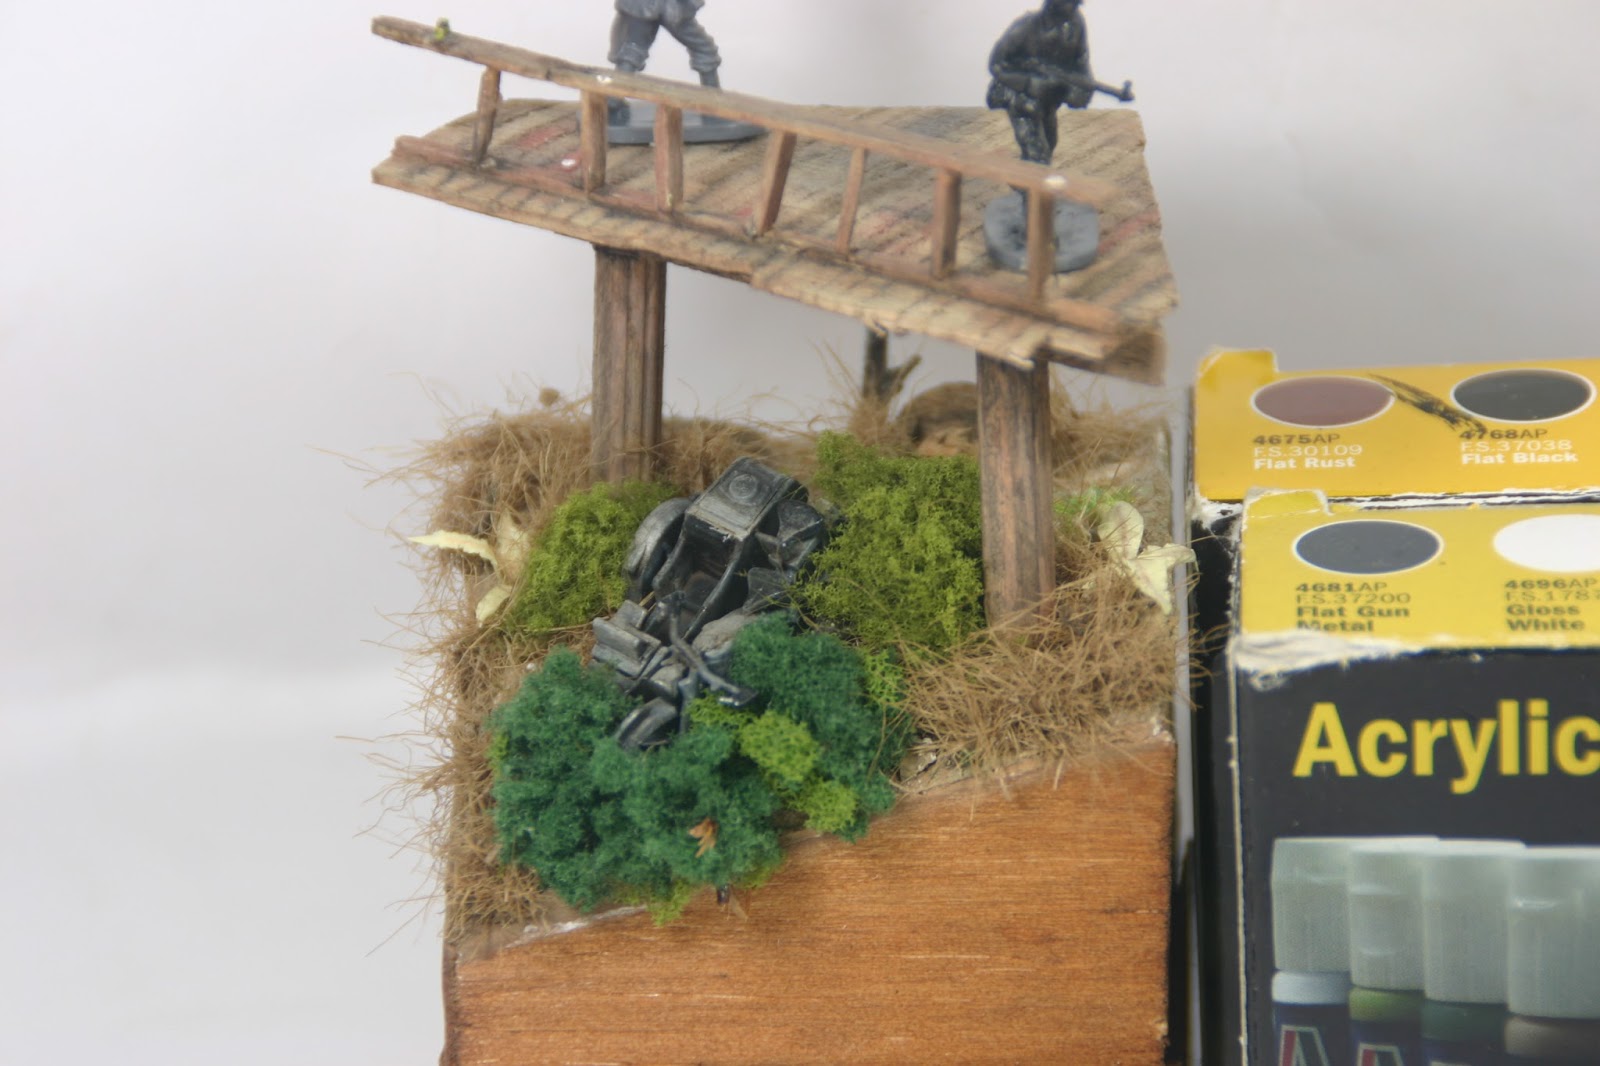


Ed ecco che in pochi minuti abbiamo ottenuto un libro in piccola scala che ci permette di aggiunger particolari alle nostre scene. Grazie per la visione e spero vi sia piaciuto.Vi lascio due foto conclusive del lavoro! Buon modellismo!

And here in a few minutes we found a small-scale book that brought us from more details to our scenes. Thanks for watching and I hope you enjoyed it. Follow me on my channel and on social media! I leave you two final photos of the work! Good modeling!


mercoledì 13 febbraio 2019

Weathering Stug IV Dragon scala 1\72

Il weathering dello Stug in scala 1\72, buona visione e buon modellismo!! 

The weathering of the Stug in 1/72 scale, good vision and good modeling!!


sabato 13 agosto 2016

Sdkfz. 222 Wip.

Ciao a tutti! Durante queste vacanze si lavora! Sto portando a termine questo piccolo mezzo.
Ho finito invecchiamento, fatto rigorosamente con colori a olio!
 E ho pensato per voi un piccolo passo passo con la colorazione delle ruote, niente di impegnativo!

Hello everyone! During these holidays you work! I am carrying out this small vehicle.
I finished aging, made strictly with oil colors!
 And I thought for you a small step up with the color wheel, nothing challenging!


Prima di tutto vediamo le ruote in resina, regalo di un amico che voglio ancora ringraziare.
Queste verranno colorate direttamente a pennello con colori Vallejo/Italeri:

First of all we see the wheels in resin, a gift from a friend that I want to thank.
These will be directly colored by brush with colors Vallejo / Italeri:


Ecco la foto con i colori:

Photos with colors:


Ed alla fine ho passato della polvere della Mig per simulare l'effetto. Una volta incollate vedrò tutto nuovamente.

And in the end I used dust Mig to simulate the effect. Once glued'll see everything again.


Ecco il tutto:

Here all:

venerdì 27 novembre 2015

Diorama di scarto 4.0

Ancora un piccolo passo. Colorato il ponte. Usato in questo caso i colori Italeri e un set Tamiya.
Vi riporto delle foto:

Little step. I have painted the bridge. I used Italeri colour and Tamiya Set.
I share with you this new photos:


Tra le foto si vede un piccolo animaletto.. Si vede?
 
Between photos there is a little animal.. Do you see it?


giovedì 12 novembre 2015

Diorama di scarto 3.0

Ed eccoci allo step numero tre. Vedendo la base, piccola ispirazione: rialzare ulteriormente la scena.. Come fare?
Facile.. Far la porzione di un ponte, sulla quale porre i due figurini.

Tutto, anche in questo caso, parte da materiali accumulati in casa: piccoli listelli in legno di varie dimensioni e balsa.
Ecco un passo passo.. Ci provo!

Here the step number three. Seeing this little base I receive little inspiration: raise the scene..
How?
Simple.. I will try to realize a little bridge's  piece, on which dispose figures.

All, as same, start with scrap material which I have in house: little wooden strips and balsa.
I will try to expose step by step!!


Iniziamo! In primo luogo il materiale che stiamo usando e come avevamo lasciato la scena.
Incollo i pilastri del ponte (listello di legno circolare) alla sorta di architrave (listello quadrato).

Let's start! First, the material that we're using and how we had left the scene. Paste the pillars of the bridge (wooden strip circular) to sort of architrave(batten square).


Dopo aver posto le basi del ponte, si realizza con balsa la passerella. Ci si aiuta con taglierino e matita..

Having laid the foundations of the bridge, it is made with balsa the footbridge. It helps with utility cutter and pencil ..


Dopo qualche minuto si incolla la passerella, incisa a simulare le assi del legno e il gioco è fatto.
Vediamo il risultato. Due diverse foto.

After a few minutes you glue the footbridge, engraved to simulate the planks of wood and you're done.
We see the result. Two different pictures.


Per poter poi concludere la piccola porzione del ponte, realizziamo la piccola balaustra, che ho deciso di non far troppo precisa, quasi che si trattasse di un ponte improvvisato e senza curar l'aspetto estetico dello stesso, funzionale e non bello! In guerra poteva accadere!

Anche in questo caso piccoli listelli di balsa tagliati e sagomati!

To be able to finish the small portion of the bridge, we realize the little balustrade, I decided not to make too precise, as if it were an improvised bridge and treat yourself without the appearance of the same, functional and not beautiful! In war could happen!

Also in this case small strips of balsa wood cut and shaped!


 Tanto per capire le dimensioni del ponte:

Just to understand the dimensions of the bridge:


Ed ecco cosa dovrebbe uscire fuori una volta ultimato:

And here's what should come out once completed: